Installation Guide
Microsoft .NET 10 Runtime x64
Important: Install the .NET 10 Runtime for Windows x64 before starting the application.
Go to https://dotnet.microsoft.com/en-us/download/dotnet/10.0/runtime
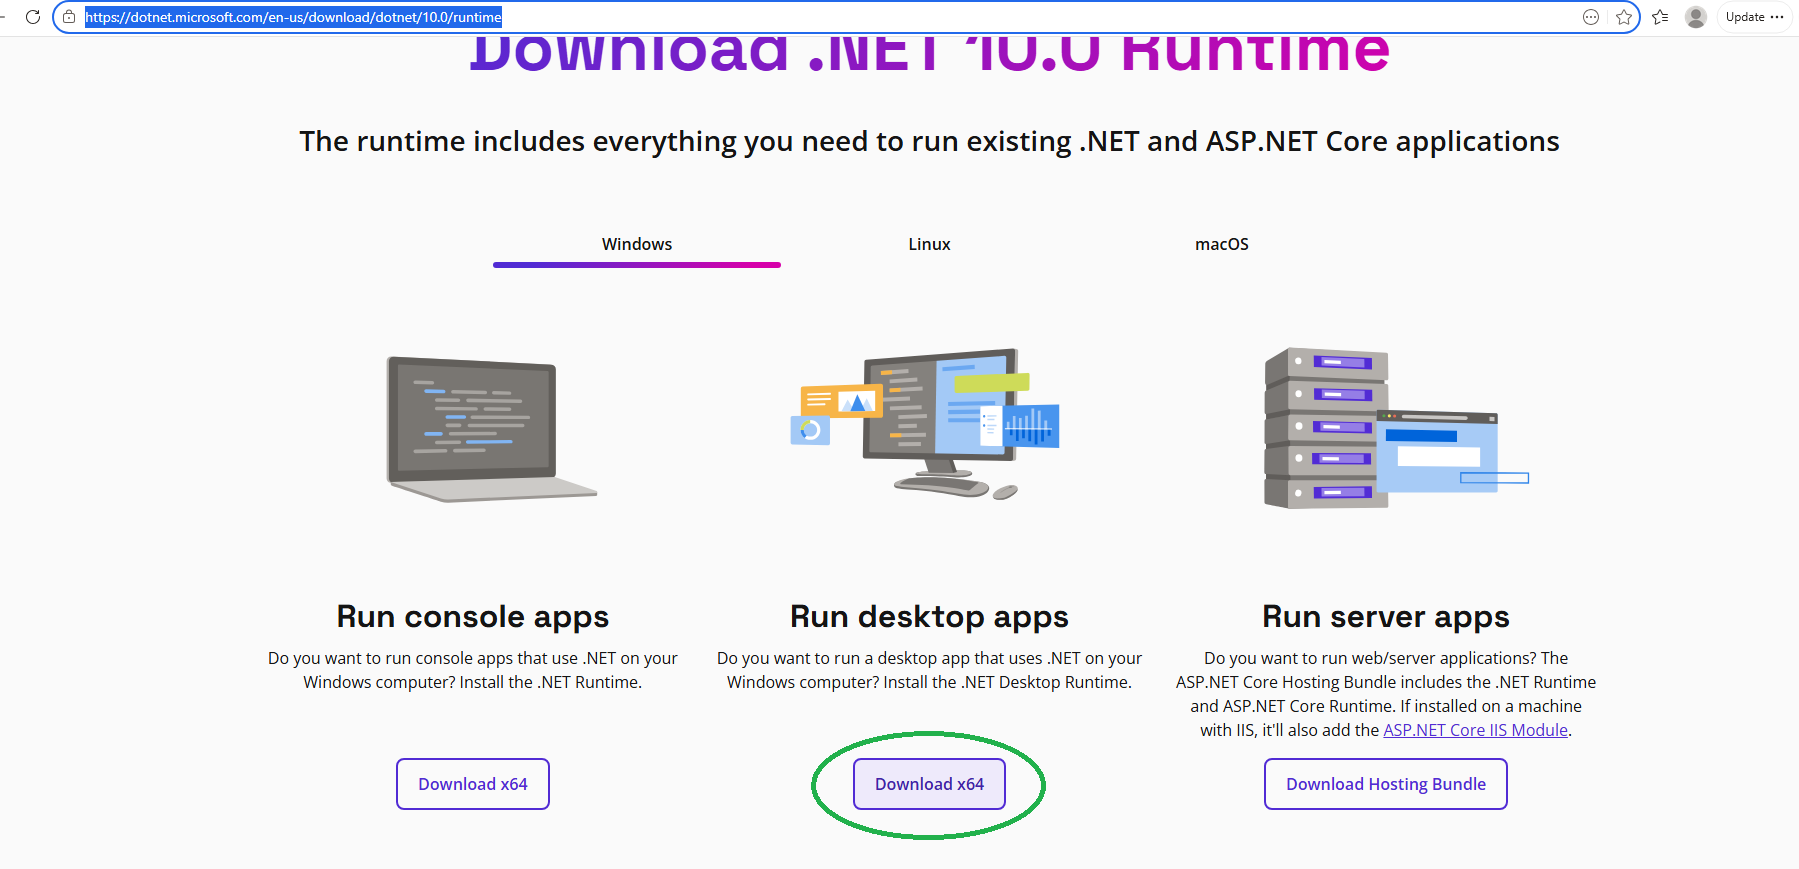
Download and install
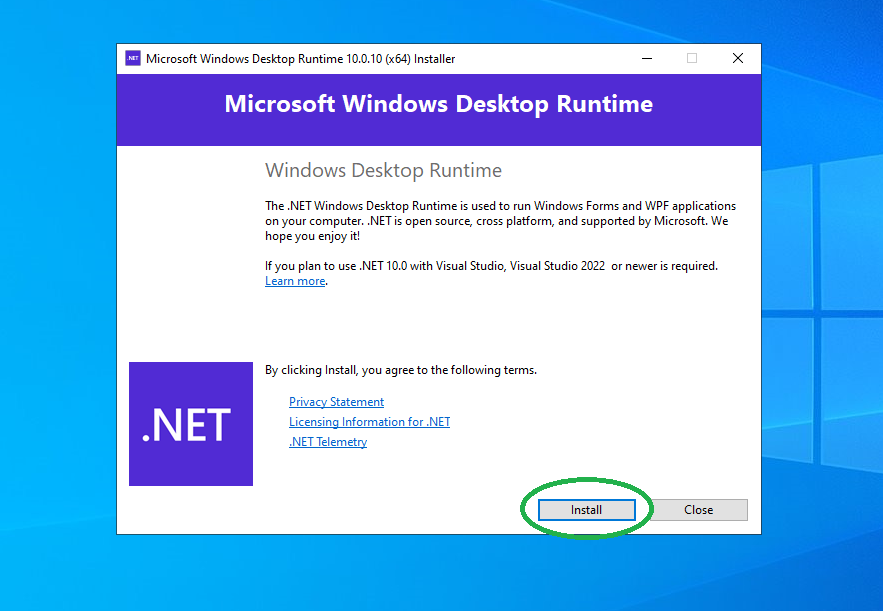
After this can proceed WP Webcliker installer
Very important: you can install and run the webclicker only from 1 VPS server. If you install it on 2 servers at the same time, it will not work correctly. Therefore, if you accidentally installed and logged into your account from several computers, then leave only 1 running (Install Weblicker and log into your personal account only from the server that will be active, and if you accidentally installed on some other computer twice , please delete it from 2 nd server (see point 7. How to uninstall )
1. How to start the installation
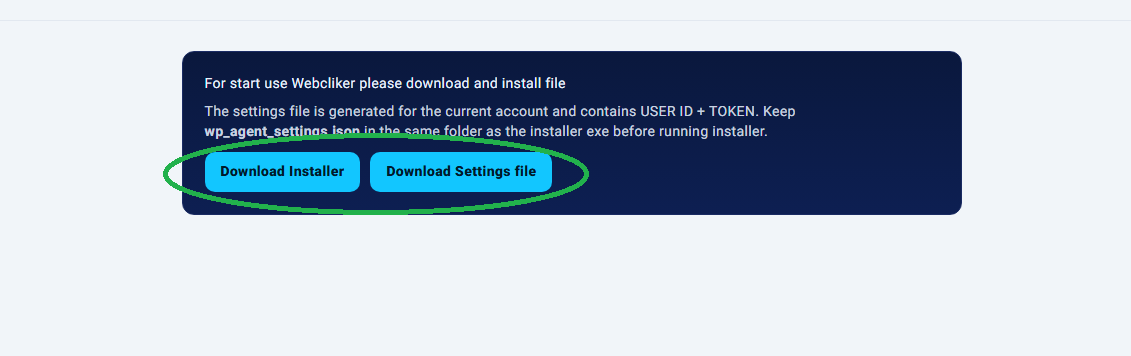
Download Installer file here – https://my.westernpips.com/webclicker/downloads/
It is important to download the Settings file too . This file should be in the folder with WP Webcliker Installer.exe
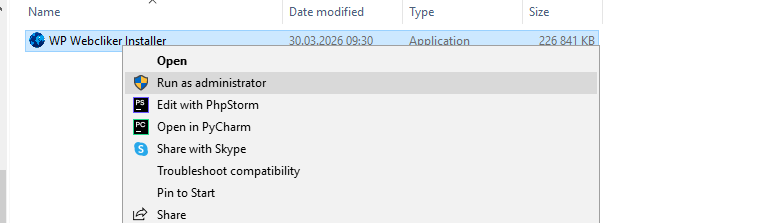
Run WP Webcliker Installer.exe.
If Windows asks for administrator permission, confirm it.
The installer window will open.
You will see 3 main fields:
User ID
Token
Install folder
2. What to enter in each field
Go to your personal account https://my.westernpips.com/webclicker/
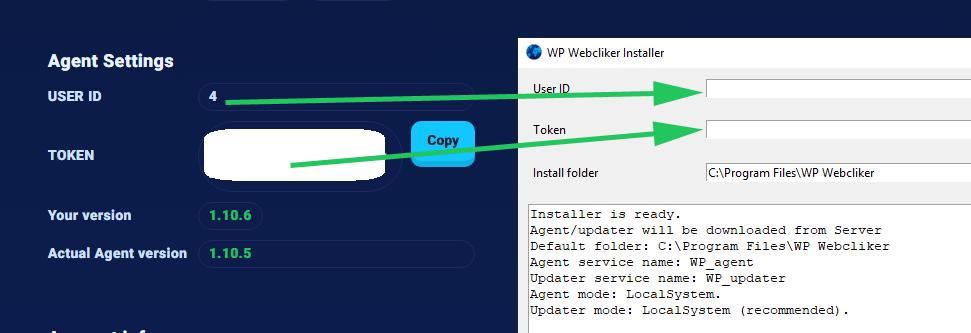
In Agent Settings area you can see :
User ID
In the User ID field, enter your personal user identifier provided to you in the Westernpips system inside your personal account.
Token
In the Token field, enter your personal access token provided to you in the Westernpips system inside your personal account.
Install folder
In the Install folder field, enter the folder where Webclicker should be installed.
Recomended install to Default folder:
C:\Program Files\WP Webcliker
Copy and Insert ID and Token to WP Webcliker Installer fields
3. Installation process
After filling in the fields, click Install / Reinstall.
The installer will then perform the following steps automatically:
Check bundled installation resources.
Create the installation folder.
Create the logs, updates, and backup folders.
Remove old services if they already exist.
Copy required service files.
Download the latest agent and updater versions from the server.
Create the settings.txt file with your parameters.
Install the following services:
WP_agent
WP_updater
Start the WP_agent service.
4. What happens after installation
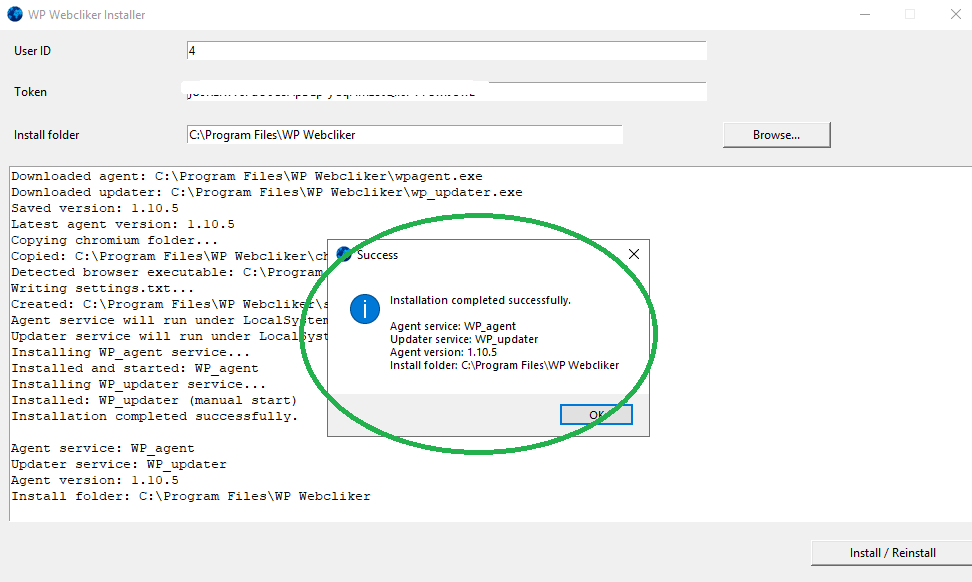
If the installation completes successfully, you will see a success message.
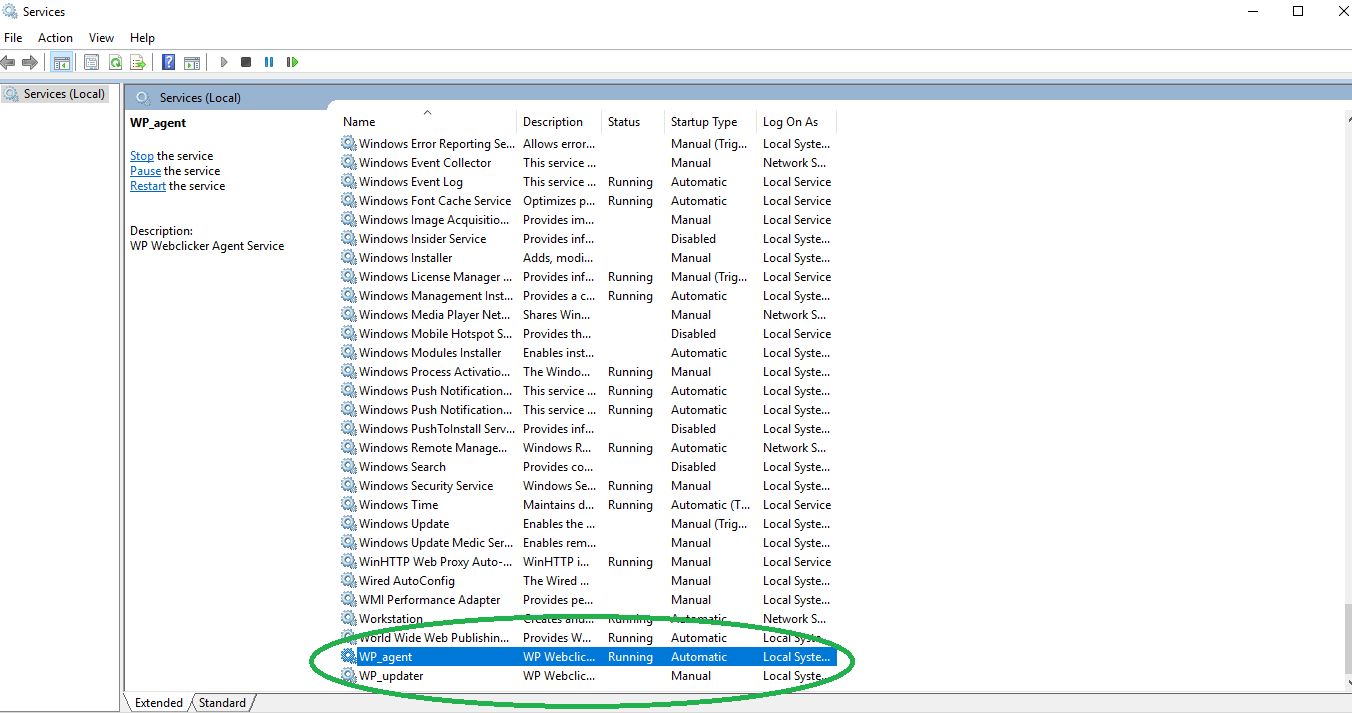
The following services will be installed:
WP_agent — the main agent service;
WP_updater — the update service.
Current build behavior:
WP_agent is installed with automatic startup;
WP_updater is installed as a manual-start service;
no Windows password is required in the standard installation flow.
5. Logs and verification
During installation, the action log is displayed in the lower part of the installer window.
After installation, logs can be found in the logs folder inside the installation directory.
This is useful for checking whether the installation finished correctly or for troubleshooting errors.
6. How to reinstall
To reinstall:
Run WC Installer.exe.
Enter the same User ID and Token.
Select the same installation folder if needed.
Click Install / Reinstall.
The installer will stop and remove the previous services and then install everything again.
7. How to uninstall
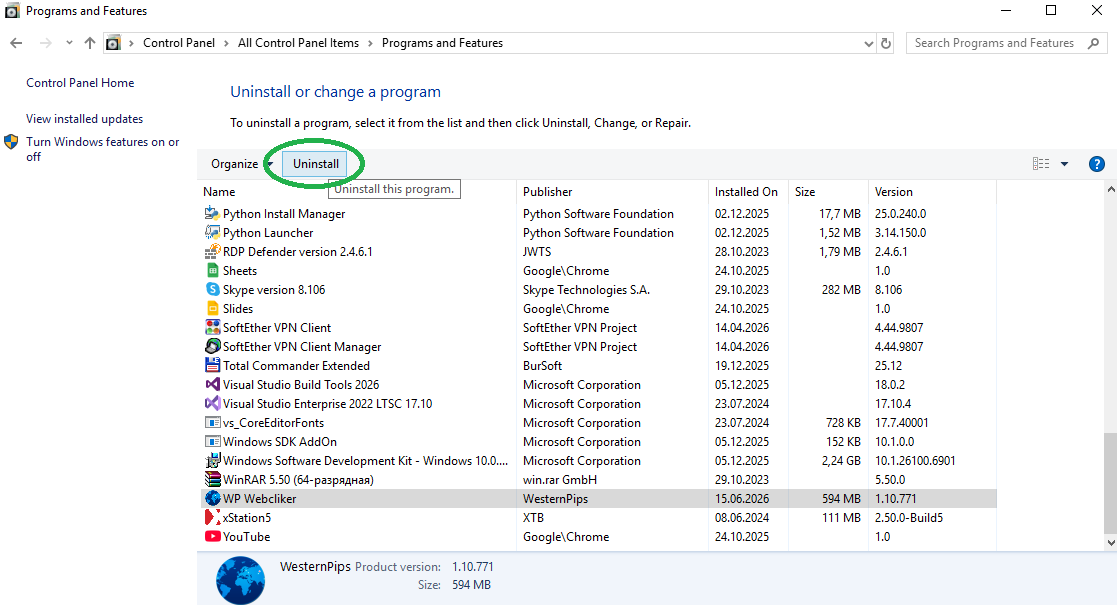
Go to Control Panel->All Control Panel Items->Programs and Features:
Click “Uninstall”
8. Possible issues
If the installation does not start or ends with an error, check the following:
whether User ID and Token were entered correctly;
whether the internet connection is available;
whether the administrator prompt was approved;
whether the installation folder is writable;
whether antivirus software or Windows policy is blocking the download.
If an error appears, send the error text and the logs from the logs folder to WP technical support.